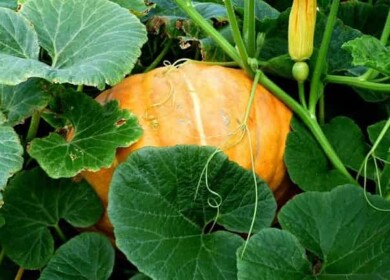
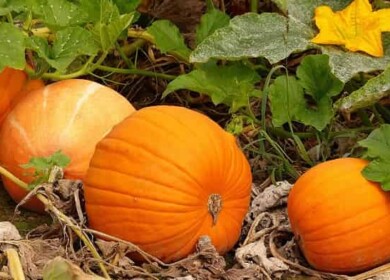
How to turn pumpkin scraps into natural fertilizer

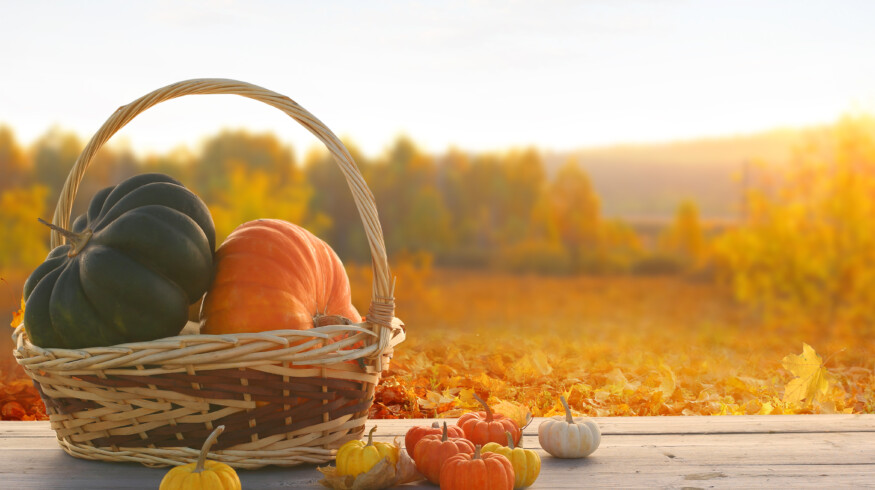
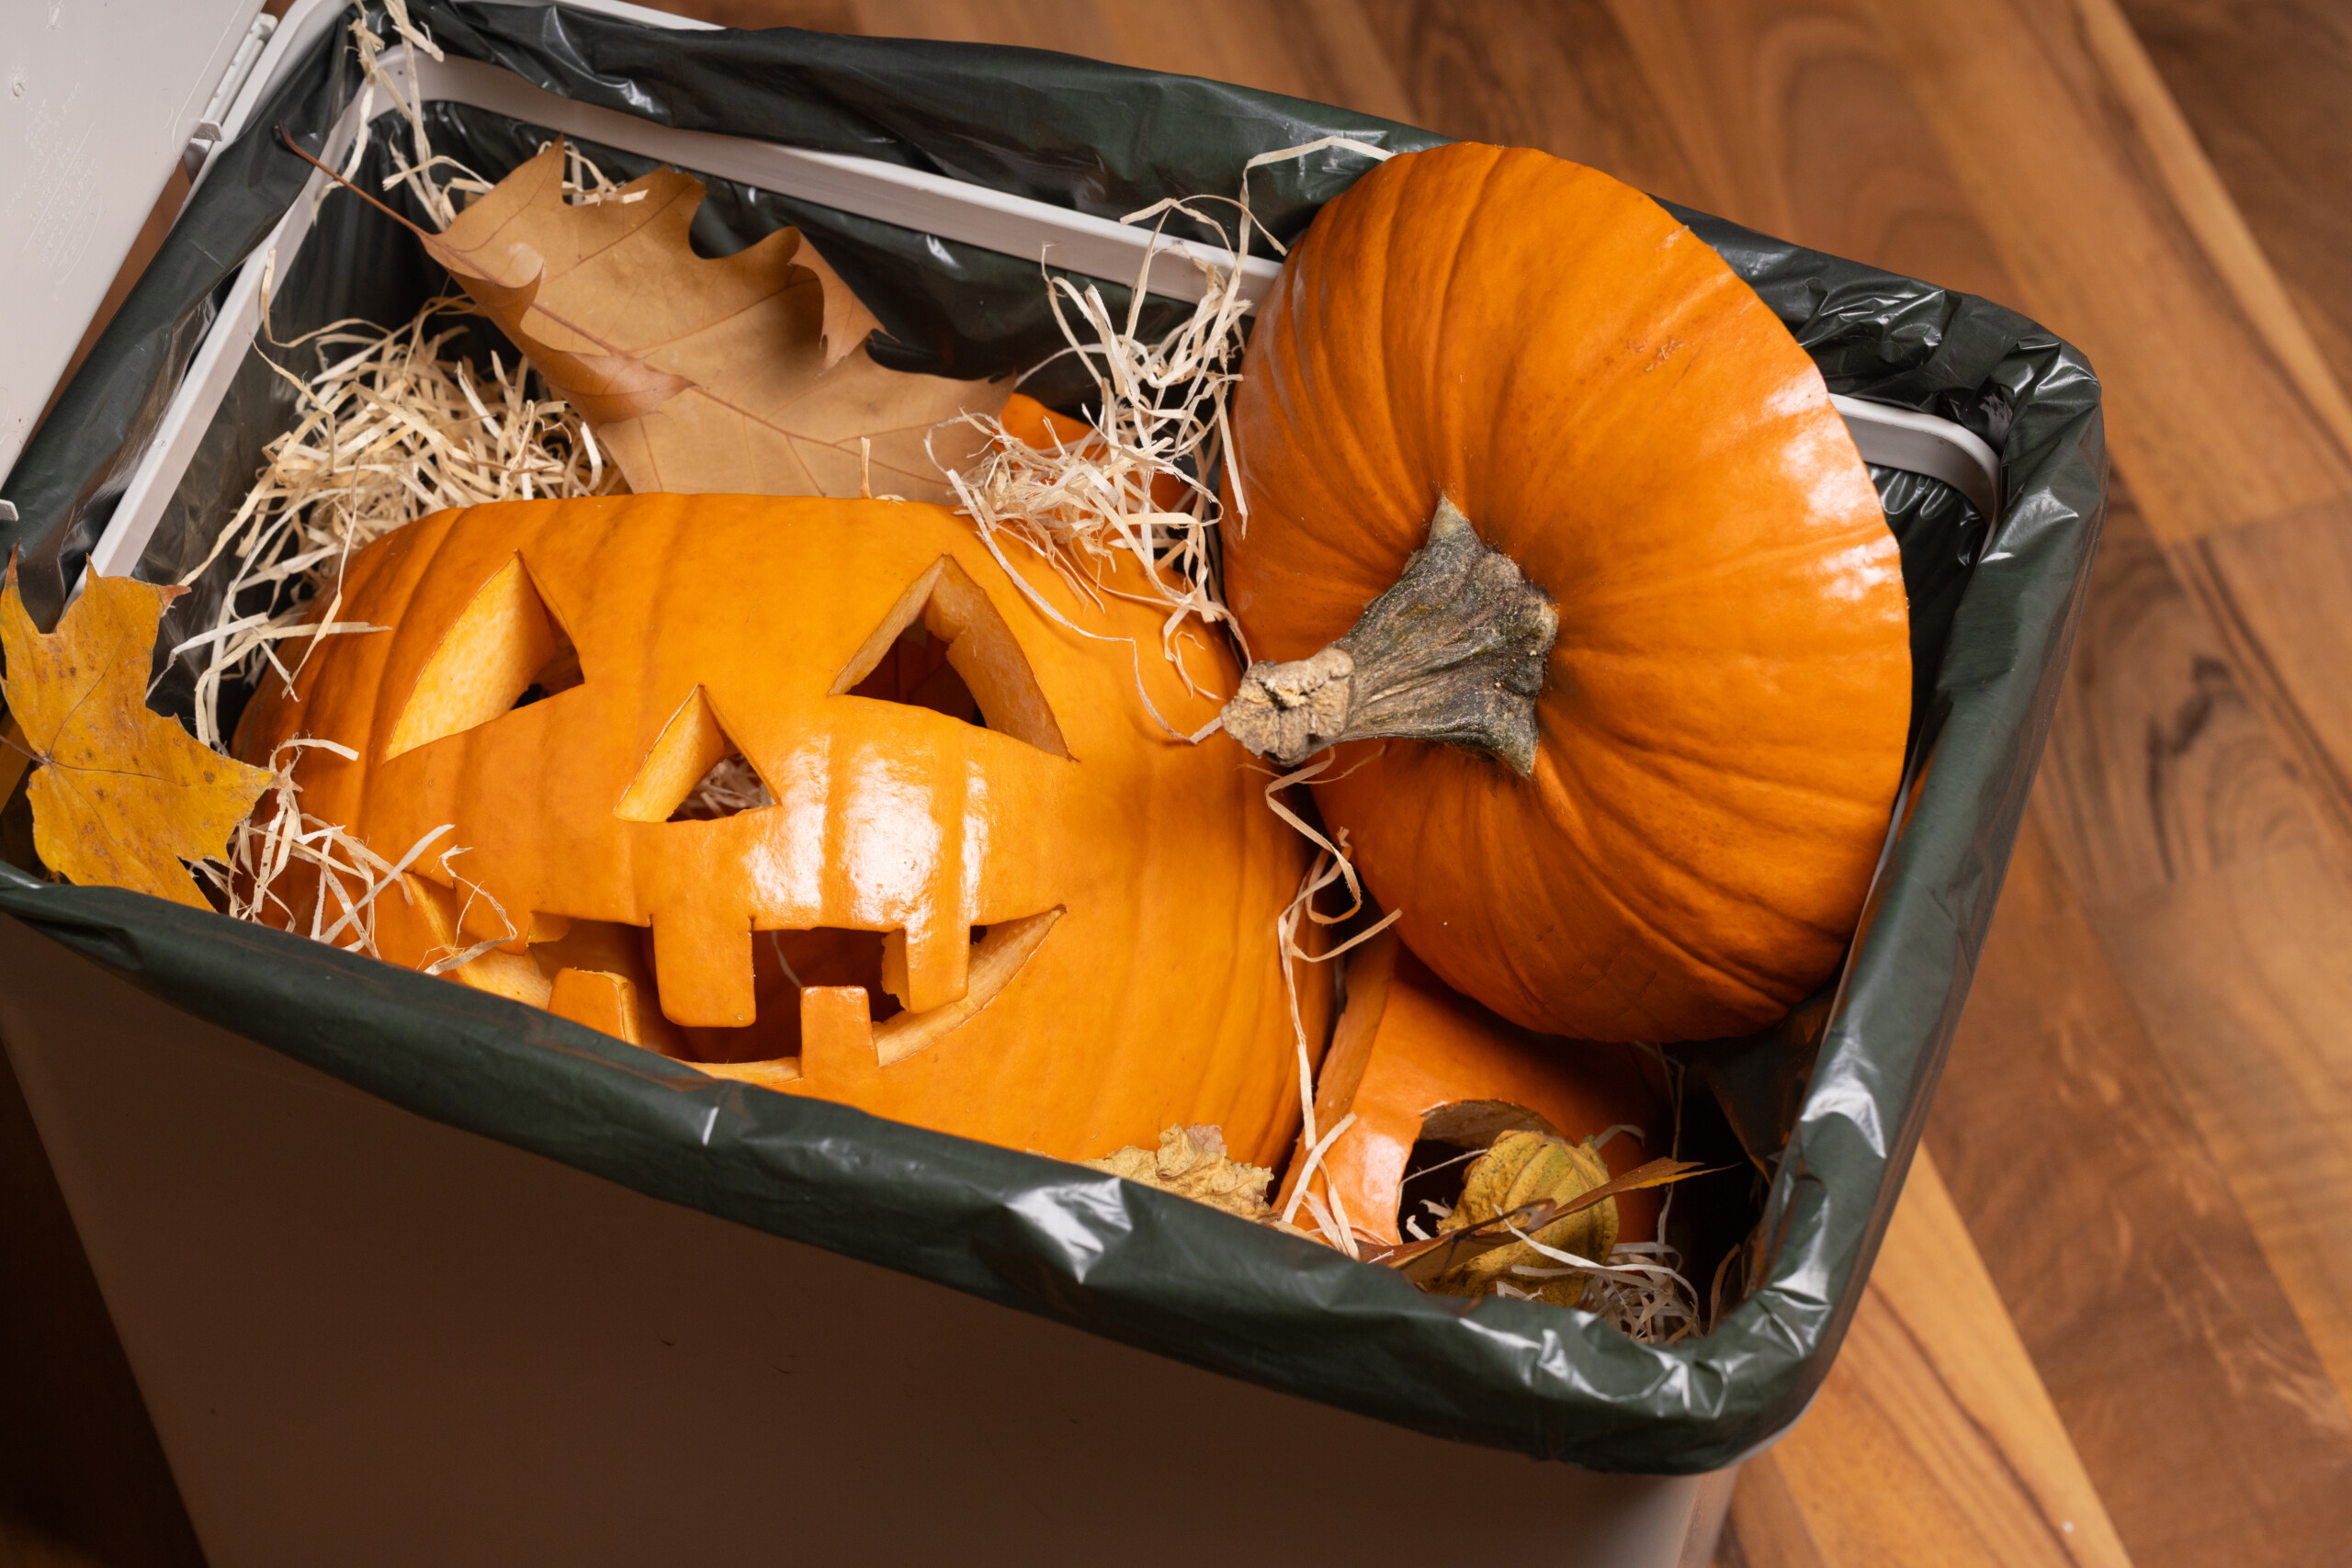
Every fall, millions of pumpkins end up carved for Halloween or used in seasonal recipes, leaving behind mountains of nutrient-rich scraps. But here’s the secret most gardeners wish they knew sooner: those pumpkin seeds, stringy pulp, and tough rinds you’re about to toss are actually treasure for your garden!
Packed with essential nutrients like nitrogen for leafy growth, potassium for strong roots, and phosphorus for vibrant blooms, pumpkin scraps are nature’s perfect fertilizer waiting to happen.
Pumpkin scraps to the garden rescue
- Nitrogen Rich: Promotes lush, green foliage and vigorous plant growth.
- Potassium Power: Strengthens roots and improves disease resistance.
- Phosphorus Boost: Encourages flowering and fruit production.
- Microbial Magic: Feeds beneficial bacteria that create healthy soil.
Three methods to transform pumpkin scraps
Method 1: Direct composting (Best for most gardeners)

Chop into small pieces
Cut your pumpkin scraps into 1-2 inch chunks. Smaller pieces decompose faster because there’s more surface area for microbes to work on. Think of it like ice cubes melting faster than a big block of ice.
Add to compost bin
Layer the chopped pumpkin pieces into your compost bin, alternating with “brown” materials like dried leaves, shredded newspaper, or cardboard. Aim for roughly 2 parts brown to 1 part green (pumpkin) material to maintain proper balance.
Mix and monitor
Turn your compost pile every week or two to aerate it. Keep it as damp as a wrung-out sponge. Your pumpkin scraps should break down completely within 2-3 months, creating rich, dark compost.
Method 2: Direct burial (The lazy gardener’s friend)
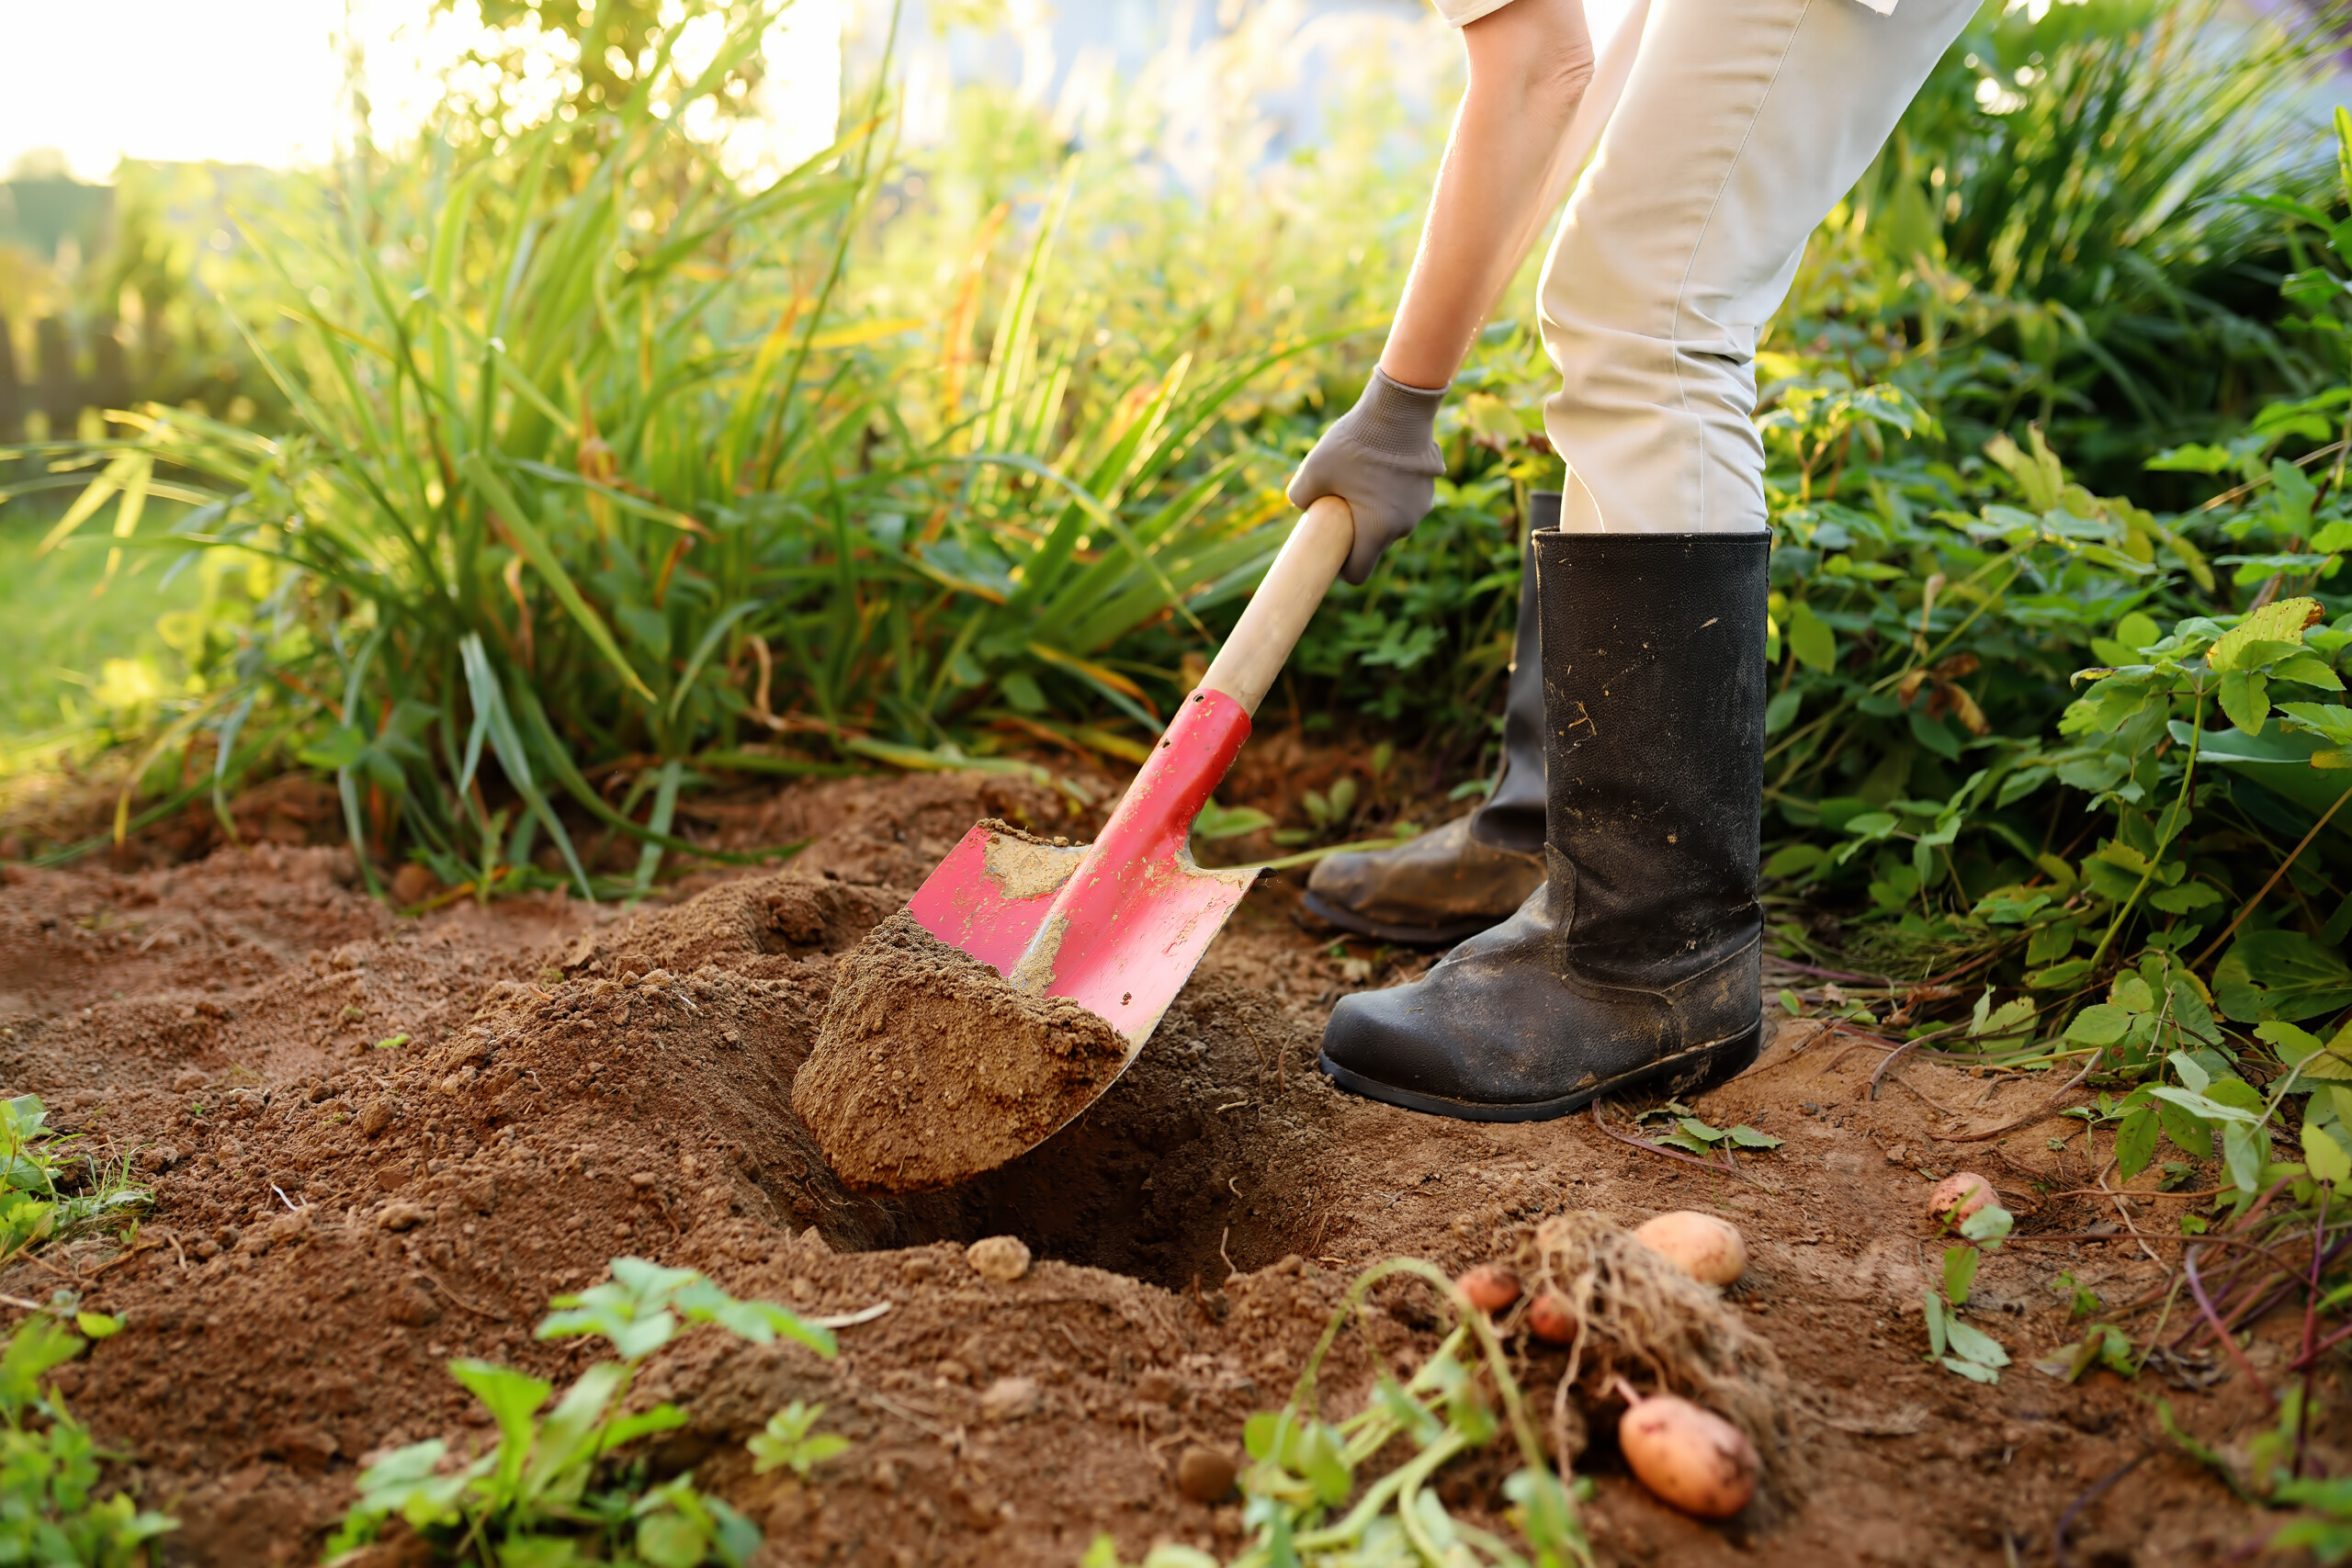
Dig trenches or holes
In an empty area of your garden or between plant rows, dig trenches or holes 6-8 inches deep. This depth protects the scraps from curious animals while keeping them in the root zone where nutrients matter most.
Bury the scraps
Place your chopped pumpkin pieces directly into the holes. You can include seeds, pulp, and chopped rind. Cover completely with soil, pressing down gently to eliminate air pockets.
Wait and plant
Mark the spot and wait 4-6 weeks for fall burials (faster in spring due to warmth). The scraps will decompose underground, and you’ll have nutrient-enriched soil ready for your next planting season.
Method 3: Pumpkin slurry (instant liquid fertilizer)
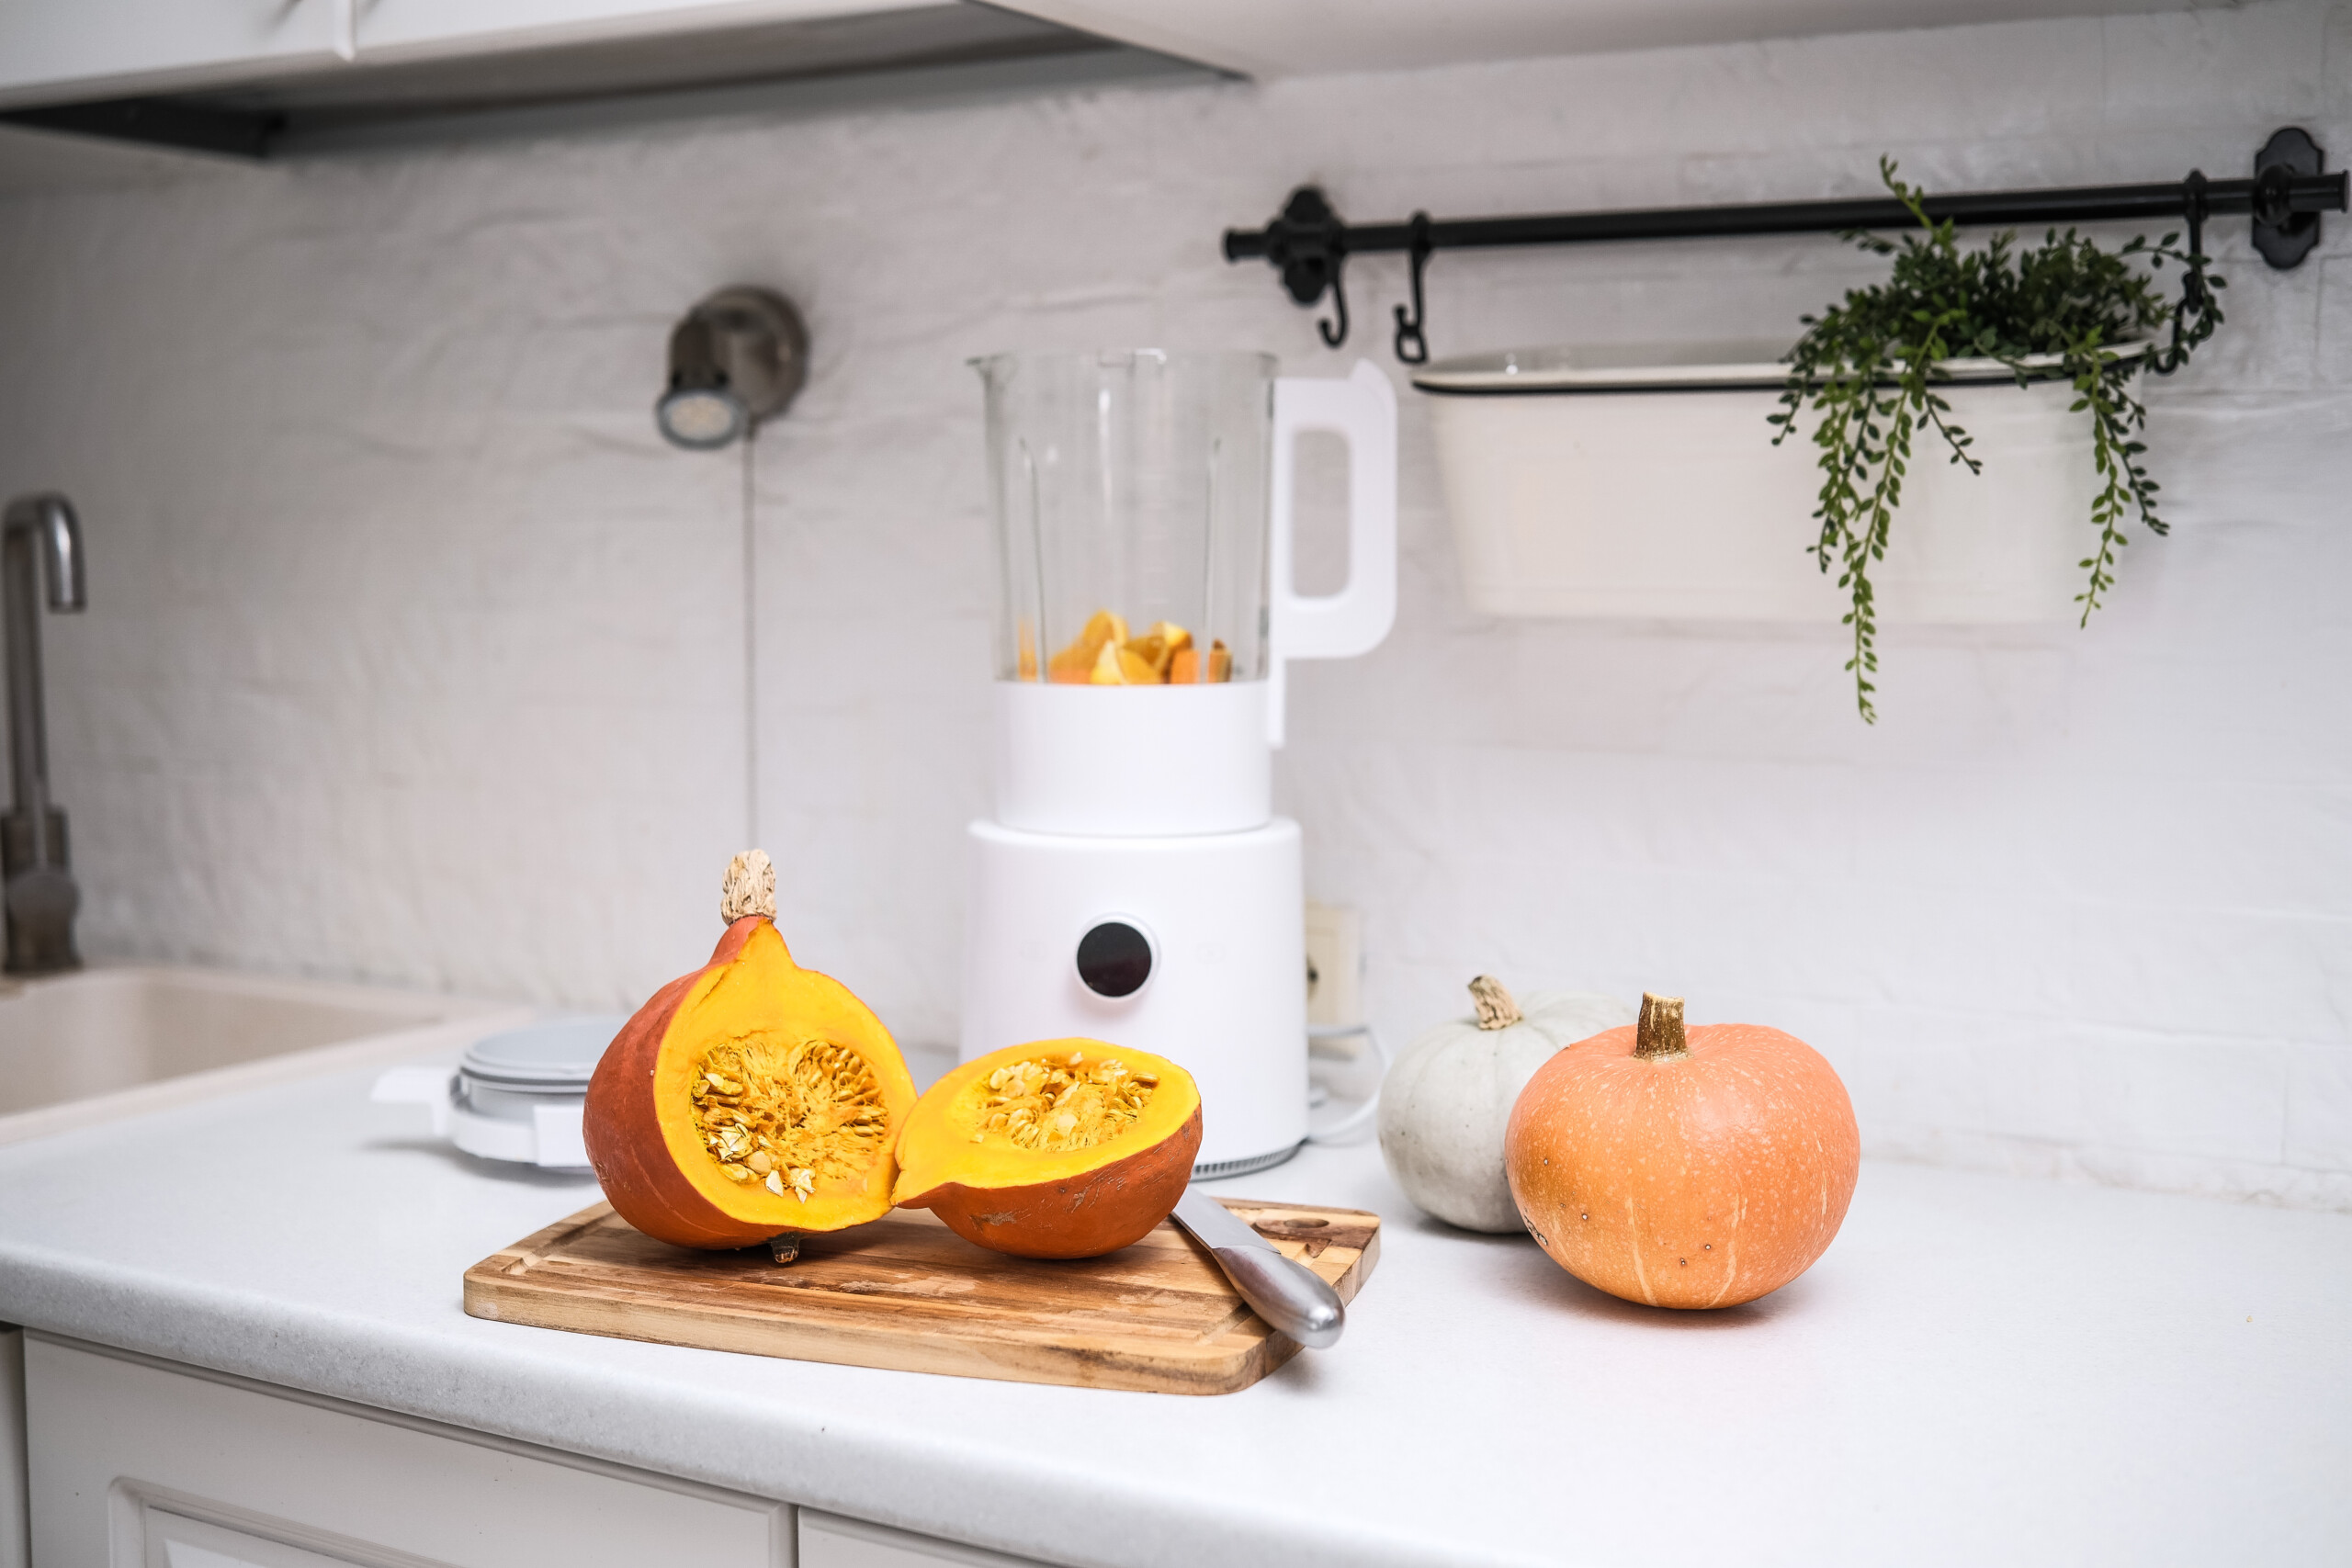
Blend with water
Add pumpkin scraps to a blender with an equal amount of water. Blend until you have a thick, smoothie-like consistency. This breaks down the cell walls immediately, making nutrients available much faster.
Optional: Let it ferment
For an extra nutrient boost, pour the slurry into a bucket with a loose lid and let it sit for 3-5 days, stirring daily. It will smell earthy (not pleasant, but that’s beneficial bacteria at work!).
Apply around plants
Dilute the slurry with 2-3 parts water and pour it around the base of your plants, avoiding direct contact with stems. Use it as a monthly feeding during the growing season for vegetable gardens and flower beds.
Pro gardener tips
- Timing matters: Start decomposing pumpkin scraps in fall so your soil is ready for spring planting
- Mix with leaves: Combine pumpkin scraps with autumn leaves for the perfect compost carbon-to-nitrogen ratio
- Save those seeds: Roast some pumpkin seeds for snacking, but toss the rest in your compost for extra nutrients
- Create a pumpkin patch: Bury whole pumpkins in a designated area in fall, and you might get volunteer pumpkin plants next spring!
- Accelerate decomposition: Sprinkle a handful of finished compost or garden soil over pumpkin scraps to introduce beneficial microbes
Important safety precautions
- Avoid pesticide-treated pumpkins: If you’re unsure whether your pumpkin was sprayed with chemicals, skip the composting. These chemicals can harm beneficial soil organisms and potentially contaminate your vegetables.
- Check for mold: White fuzzy mold or dark spots indicate decomposition has already started in unwanted ways. Moldy pumpkins can introduce plant diseases to your garden—send these to the municipal compost instead.
- No painted or decorated pumpkins: Paint, glitter, wax, and other decorations don’t belong in your garden. These chemicals won’t break down and can harm soil health.
- Keep away from house foundations: Bury pumpkin scraps at least 10 feet from buildings to avoid attracting rodents or causing moisture issues.
- Don’t use diseased pumpkins: If your pumpkin had powdery mildew or other diseases while growing, don’t compost it—you’ll just spread the disease to your garden next season.
What to expect: Timeline and results
- Week 1-2: Pumpkin pieces begin to soften and break down as microbes colonize the material
- Week 3-4: Visible decomposition occurs; scraps become mushy and reduce in size by about half
- Week 6-8: Most material has broken down into dark, crumbly matter (in warm conditions)
- Week 10-12: Full decomposition in compost; nutrients are now available for plant uptake
- Long-term benefits: Soil becomes darker, easier to work, retains moisture better, and produces healthier, more productive plants
Waste not, want not
Americans send over 1.3 billion pounds of pumpkins to landfills every year. When organic matter decomposes in oxygen-deprived landfills, it produces methane—a greenhouse gas 28 times more potent than carbon dioxide.
By composting your pumpkin scraps instead, you’re not just creating amazing fertilizer; you’re actively reducing your environmental footprint and participating in the circular economy. Your garden becomes both the beneficiary and the hero in this sustainable cycle.
————
About the Author: This article was prepared by Serina Lee, Owner & CEO at Newborn Nursery Furniture, a leading online retailer providing nursery solutions to parents with a newborn.


Discussion0 comments